How to Perform a Thorough Home Inspection: PREPARATION
If you fail to prepare, you are preparing to fail.
Ok, maybe ‘fail’ is a bit dramatic…but it is certainly true that the most thorough of inspections will always begin with some solid preparation!
I (the author) remember, early on in my career as a professional home inspector, how much preparation I would do before each appointment. I felt confident in my knowledge but was afraid of getting disoriented by something I hadn’t expected to see. Home inspection is a profession where a huge breadth of knowledge is required; we are not experts in any one field, but we are generalists. For this reason, the more you know what to expect out of the property ahead of time, the more focused, calm and thorough you can be during the inspection itself. Your client will be grateful for your careful preparation—this could be their future home, after all!
We polled our team of inspectors recently to ask: “What do you do to prepare for an inspection?”
So grab that cup of coffee, get comfortable, and continue reading for some of our best practices when it comes to preparing for a thorough home inspection.
Use online listing to find property information
A great way to begin preparing for your inspection is to look for the property listing online. Redfin and Zillow are some good websites you can use to do this. Most listings will include some helpful information such as the estimated age of the home and any systems that have been recently replaced (roof, HVAC, etc). This kind of information is helpful for an inspector because it can help you anticipate the sorts of systems, materials, and issues you’ll encounter during your home inspection. For instance, the age of a home can tell you whether you should be on alert for asbestos, polybutylene piping, or solid aluminum branch wiring. Remember, though, that the information about the home on these websites is often not 100% accurate–so don’t rely too heavily on them.
Scan through photos on listing
The next step is to scan through the photos included for the property listing. Get a sense for the property and take note of anything that catches your attention. Can you see any potential water management issues? Any efflorescence on foundation walls? What kind of HVAC system(s) is/are present? In this way you can begin inspecting before you even show up to the property.
Check BuildFax for permits
As home inspectors we’re not responsible for commenting on permit history. But if you’re able to pull the BuildFax report for your property (especially when it comes to older properties) it can provide some helpful information. If during your inspection you are noticing lots of ‘creative’ (read: unprofessional) work, AND if BuildFax shows no record of the proper permits pulled, then you should encourage your client to look further into the matter.
Anticipate any accessibility issues
If you scanned through the listing photos as discussed earlier, you’ll also be able to check for any accessibility issues. For instance, it might be helpful to know that the row house you’re inspecting has a flat roof that is out of reach of your ladder. In that case you’ll have to consider other possible ways to visually inspect the roof (Telescoping camera pole? Drone?). Or if you’re inspecting a condo unit, it might be helpful to know in advance whether the outdoor condensing unit is easily accessible, or whether you’ll need to ask the real estate agent present at the inspection to get you access to the roof where the condensing units are located. Anticipating accessibility issues will help you not to be caught unprepared or to overlook inspecting something important because you never came across it during your inspection!
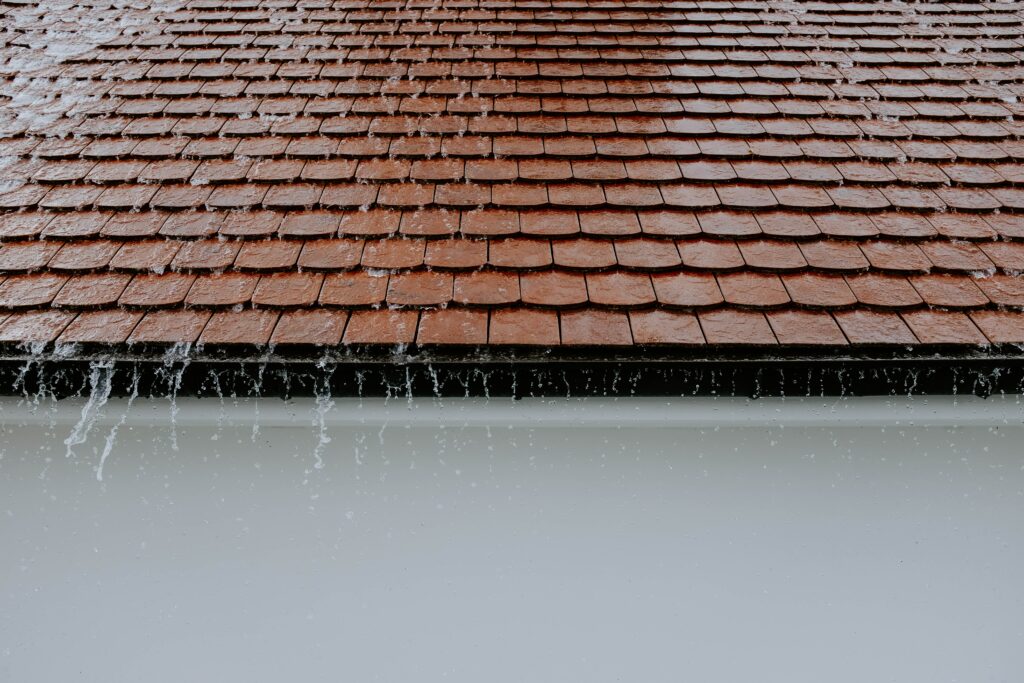
Check weather forecast and plan accordingly
Weather can play a part in limiting aspects of an inspection. A roof will not be walked by the inspector if it is wet. Radon tests cannot be considered valid in the case of some very windy days. On extremely hot days, being in an attic for too long can be dangerous. If it’s supposed to start raining sometime during your inspection, see if you can knock out the Roof inspection first (even if this does not normally come first in your inspection process). On very windy days you can do your client a favor and let them know the Radon test will need to be postponed, since the weather would have prevented it from being considered a valid test anyway. In extreme hot weather, you can try to inspect the attic first (while temperatures are cooler), or notify your client in advance that your attic inspection may be limited due to dangerously high temperatures.
Make sure all tools are charged and ready to go
Last, but not least, make sure your tools are powered up and that you’ve got those extra batteries handy, just in case! You don’t want to find yourself in a situation where you’re checking stained baseboards for active water intrusion and discover your moisture meter is dead. Or where you’re checking for signs of WDOs in the crawlspace and your flashlight starts to fade. Or where you go to confirm the presence of a gas leak, only to realize your gas leak detector is out of battery. Establish a consistent routine to make sure all your tools are charged and ready to use for every inspection.
Being well prepared can make all the difference in your confidence and the quality of your inspection. Thoroughness starts before you arrive at the property!
We’ll continue “How to Perform a Thorough Home Inspection” by moving on, in our next post, to the EXTERIOR. And if you don’t already, follow us on Facebook and Instagram, where we’ll notify you of this and additional content!