How to Perform a Thorough Home Inspection: EXTERIOR, part 3
By now you’ve finished your first lap around the property (see Part 1 of this series for an idea for breaking down your exterior inspection into a helpful 2-Lap routine). You’ve taken a lot of pictures (if you’re a home inspector reading this), or you’ve jotted down some notes and lengthened your To-Do list on needed home repairs (if you’re a homeowner)!
Now we’ll double back to complete our last lap around the home, heading in the opposite direction in order to get a different angle on the areas and components of the home we’ve already seen.
Landscaping
This, as with many other Exterior inspection items, may be something you’ll have already partially inspected during your 1st lap around the property, while paying attention to grading and water management.
The only landscaping that matters on a home inspection is that which may directly affect the house itself.
Are there vines growing on the siding (this may be ‘charming’, but it’s not helpful to the wellbeing of your house!)?
Are there any trees very close to the foundation wall that might be exerting pressure against the foundation?
Large trees in the front yard? If so–especially if yours is an older home with cast iron DWV piping–you should strongly consider having a sewer line inspection performed, as there’s a chance tree roots have found their way into the sewer line as it passes through the front yard (and sewer line replacement is a BIG expense).
Bushes / hedges / plants in contact with the home? This will damage siding and provide a path for pests.
If the home has an electrical service drop (as opposed to an underground service), are the cables in contact with tree branches?
Siding / Wall Cladding
The first step in inspecting the siding is to determine the material / what kind of siding is installed on the home (there may be several different materials being used). This is important because what you’ll be looking for will depend in part on what kind of siding is installed. In this post we won’t discuss the particularities of different materials. Here are some examples, though, of the sorts of issues you might come across:
Loose / missing siding
Improperly installed siding
Clearance issues (from grade, roof, etc)
Deteriorated / damaged / warped siding
Wood rot / pest damage
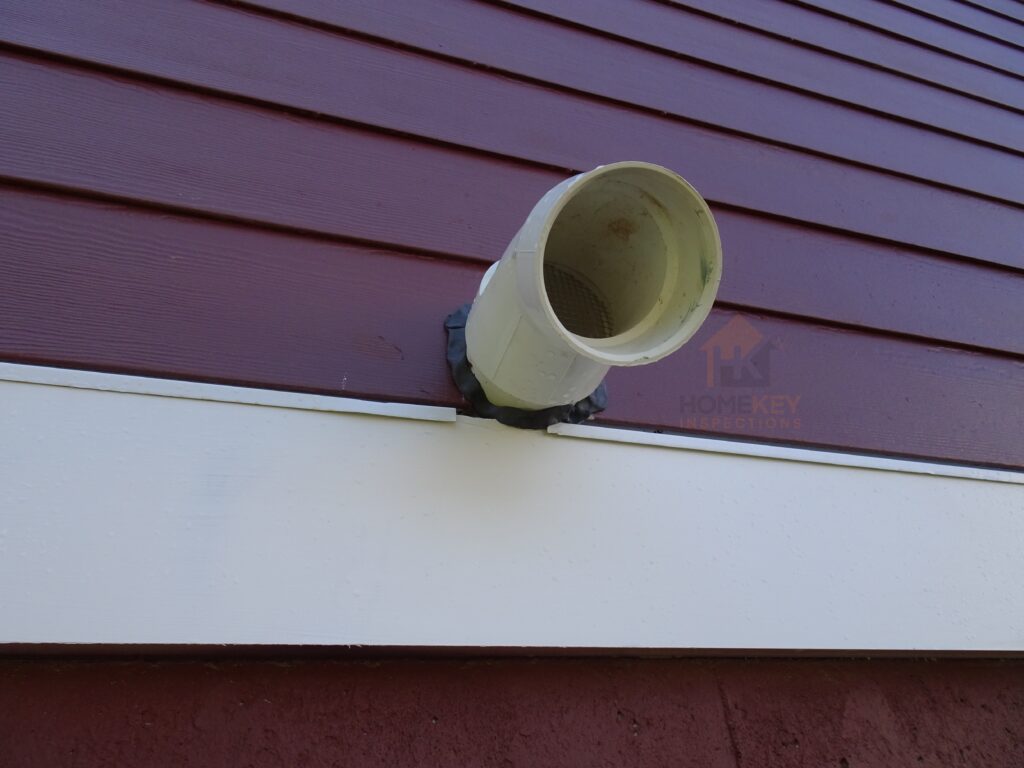
Missing J-channel around penetrations
Material / manufacturer-specific installation issues (Adhered Stone Veneer, Fiber Cement, etc)
Cracking / settlement (masonry)
Staining indicating water intrusion issues
Loose siding on a newly built home
Insufficient clearance from both patio and deck
Certain materials–like Adhered Stone Veneer, or Fiber Cement–are installed wrong especially often. For the sake of time and focus, we’ll not go into depth on those in this post. A home inspector should be familiar with common errors in installation with those materials which are most commonly used in his / her service area.
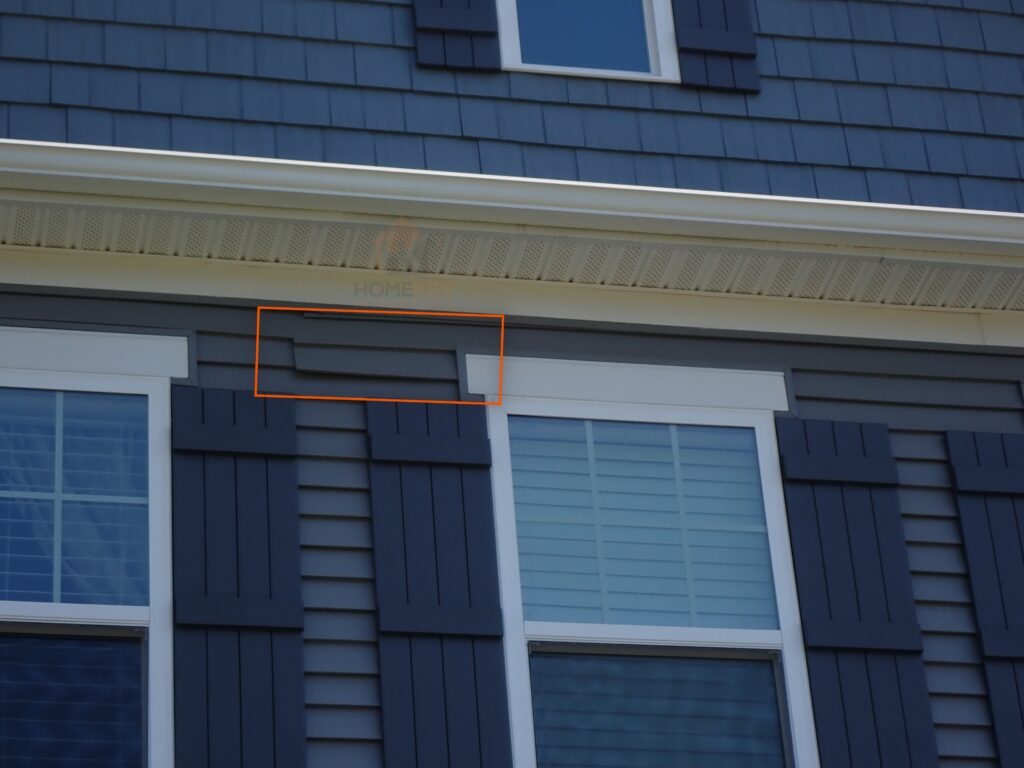
Flashing
Flashing–thin, impervious materials used in select places on the exterior to prevent water intrusion and control flow of moisture–is often seen on the roof (more on that in a future post), but is also something to look for during the Exterior inspection. Much of the flashing will not be visible during a standard home inspection (it is covered by siding).
Check for damaged and missing flashing. As with siding, certain materials require different types of flashing, and in different locations.
Properly installed flashing is essential to keeping water out of the home, which should be among every homeowner’s top concerns!
Vent has been installed in such a way that flashing has been damaged / is missing in this area (this was new construction)
Windows & Doors
Much of your inspection of windows and doors will take place during the Interior portion of your inspection, but while you’re circling the home be looking for cracks / damage to the glass or frame, fogged glass, missing / damaged screens. Where windows are close to stairways, take note to check whether the glass is safety-tempered (in some cases this is easier to check on the interior). Does the doorbell work? Are any shutters missing?
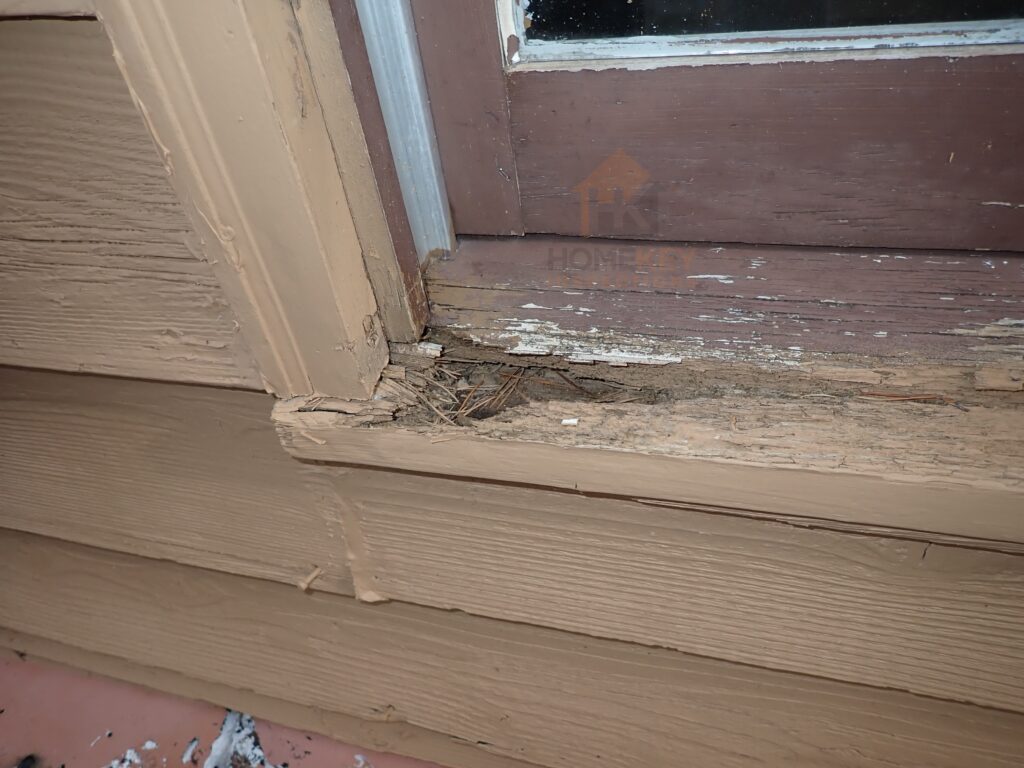
Trim
One of the more common finds during any home inspection is items that fall under the category of “Deferred Maintenance”. This could be caulking or mortar that has deteriorated and needs to be redone, asphalt driveways that need to be sealed, or TRIM that needs to be painted or repaired.
Check for missing / peeling paint along the trim, and for wood rot (if applicable). Is any trim loose or missing? Is caulking / sealant present at needed transitions between materials? Though each individual instance seems minor, if trim has not been maintained well, the cost to repair all that rotted trim can add up.
Wood rot in window sill / trim
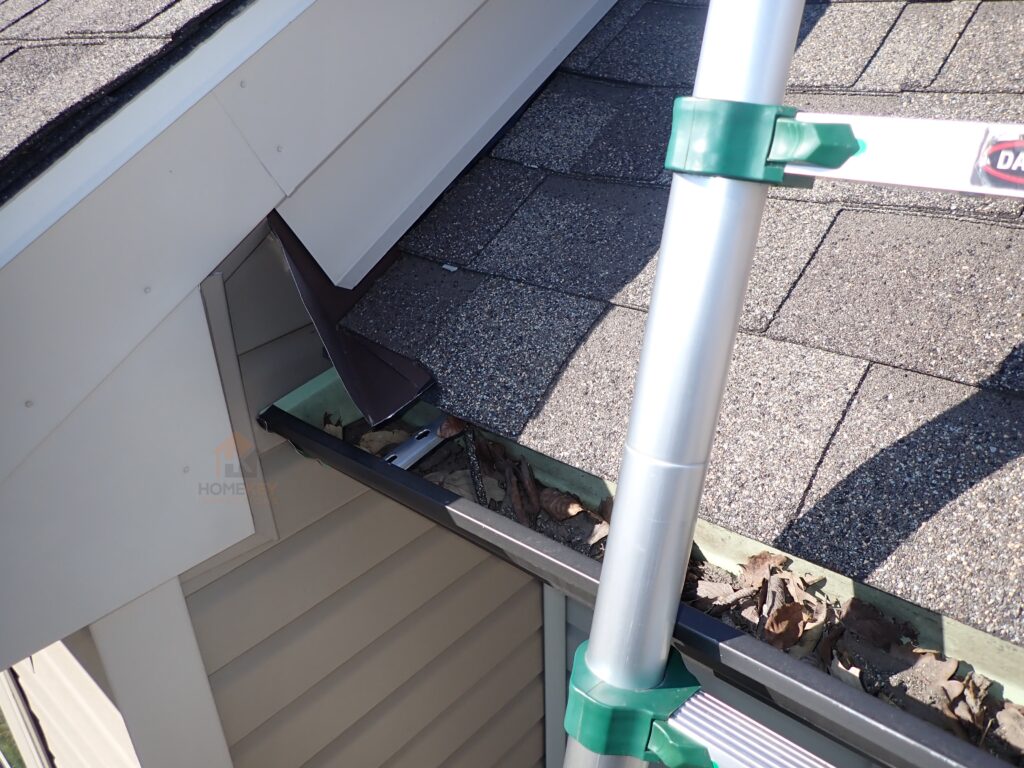
Gutters, Downspouts, Soffits
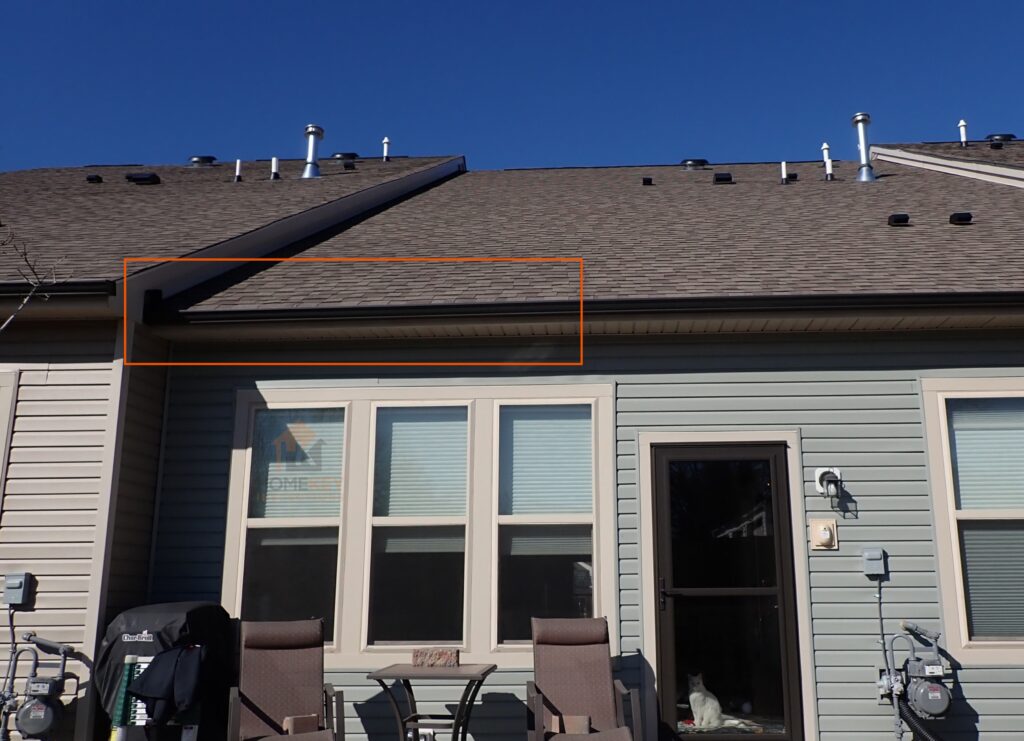
Improperly sloped gutter, water will collect here
Check for proper gutter slopes–gutters should be sloping steadily down in the direction of the downspouts. Improperly sloped gutters will result in standing water, leaking gutters, and occasionally even having things grow in those gutters! 🙂
Verify that gutters are properly secured to the fascia, that the downspout is actually connected to the gutter, that the downspout is secured to the home.
Is there staining / streaking on the front side of the gutter, or on the fascia behind the gutter? This can alert you to drainage / gutter problems.
Around the area of the gutters, also make sure you pay attention to how the soffits look. If there appear to be vents, sometimes those vents are covered with paint and that’s worth putting in the report. More commonly, staining can be observed at the soffits, indicating previous or ongoing gutter issues. This can also be an indication of a phenomenon called ice damming. Stains or damage should be included in the report.
Leaves / debris collecting in this part of the gutter as a result of improper slope, as seen from ladder
One last note--don't forget to take a Macro approach!
Remember not to get so caught up in all the various minor issues that you miss the biggest, most important ones!
If you catch every instance of missing caulking / sealant around the property, and notice all the damaged window screens, but fail to notice that the whole house is racking / leaning to one side…you probably didn’t take the time to step back, pause, and take in the “big picture”.
Take a look at this Washington, D.C. home (see photo)–it is racking and is now nearly touching the neighboring property to the left!
[ Note: We haven’t yet talked about decks; we’ll devote a separate post to discussing Deck inspections later! ]
That wraps up our Exterior inspection! While we’ve not covered every single issue you might encounter, or every component you’ll come across during the exterior portion of your inspection, hopefully you’ll have seen just how much there is to look for as you’re making your laps around the property.
Nothing beats having a consistent process and a competent home inspector!